
Last Updated on: Sep 11, 2023
How To Fix And Set Up Your Microphone?
Do you own a microphone, but still, your voice quality during streaming, voice-over, or recording is low? The reason might be the setup rules for your microphone, which you’re not obeying! That’s right. There are specific parameters that you should take care of while fixing your microphone for various purposes. Here in this short guide, we’ll cover that how you can all fix and set up your microphone for multiple platforms, including YouTube, Twitch, and several devices, including PC, PS4, etc.
Know Your Microphone
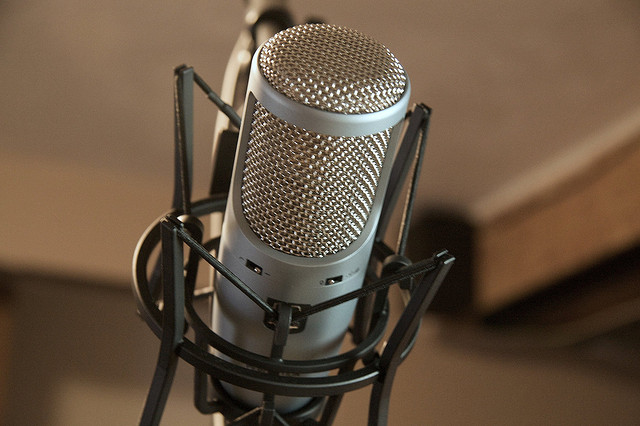
This is the first step that you need to follow before setting up your microphone. Therefore, before starting the preparations, know your microphone! Whether it meets the minimum requirements as per your device or not. Also, check for the mic’s working manual and purpose to know that either microphone can be utilized to record the voice, or it is too sensitive for the average pitch of the human voice. After knowing the details about your microphone, you can take the next step in this guide.
Place it Correctly
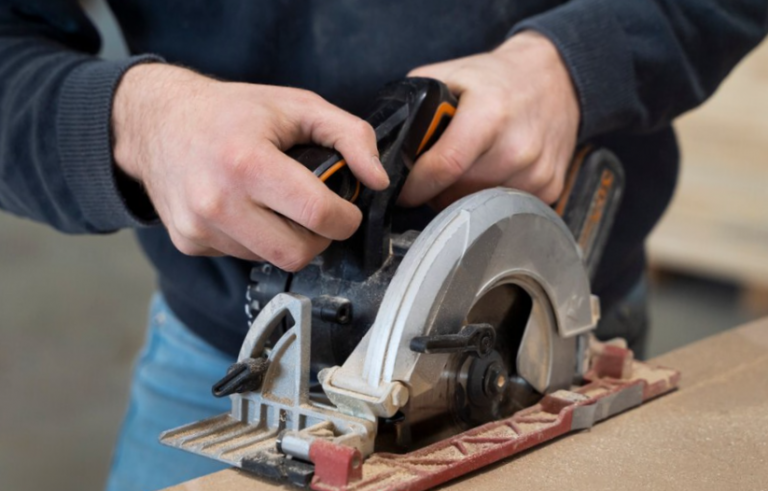
Whether you want to use your microphone for streaming, podcasts, or anything else, you must place it correctly. The correct placement is what you need to record the voice crisp and clear so that you can be adequately heard. There are specific instructions that come with each model of the microphone, which suggests the suitable distance between the voice source and mic. The general direction includes that you need to fit the microphone in the frame securely and tightens the screen both sides. Then, you need a mic boom to connect it with various devices.
Polar Patterns of Microphone
Many users still don’t know about the polar patterns as they are unaware of their use. Polar patterns are essential as these tell you about the side of the microphone that will face the audio source. Placing the polar pattern correctly is also critical because it can reduce the noise. It let you capture directly from a particular side and avoid all other unnecessary sounds in your room.
Set up the Polar Pattern
What if you want to stream with your friends in a single room? Then you need to capture the sound from multiple directions. For this purpose, there is a button on your microphone, which helps you to set up the polar patterns. There is an dedicated indicator light which also tells you about the active portion of the polar pattern. In this way, you can easily set up the mic for a stream session with your friends.
Adjust the Sensitivity
Now it can be considered as the last step to this guide. Sensitivity plays an essential role in the location where you are recording your voice. Many brands have featured a button on the microphone to adjust the sensitivity, and also, you can modify it via your device, i.e., PC. In general, microphones with higher sensitivities are used in places where there is no noise and echo of sounds. Also, these types of microphones are placed far from the audio source.
The responses below are not provided, commissioned, reviewed, approved, or otherwise endorsed by any financial entity or advertiser. It is not the advertiser’s responsibility to ensure all posts and/or questions are answered.